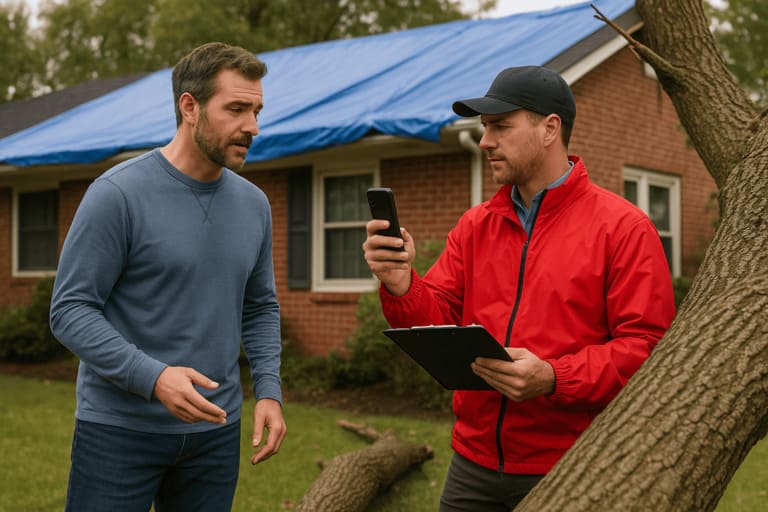
Filing a Storm Damage Claim with State Farm: A Practical Guide
Storms move fast—claims should, too. The key is to document early, report promptly, and stay reachable for the adjuster. This practical walkthrough shows exactly what to record, what to submit, and how to avoid common delays.
You’ll also find quick ways to benchmark coverage, understand deductibles for wind/hail or named storms, and line up repairs without jeopardizing claim eligibility.
Step-by-Step: Document, Report, Follow Up
1) Make it safe, then document: prevent further damage if it’s safe (tarp a roof, shut off water). Take wide and close-up photos/videos of every affected area and keep a list of items with estimated values.
2) Report the claim: file via the app, website, or phone. Provide your policy number, event date/time, a short description, and your photo inventory when filing. Ask for your claim number. If you plan to re-shop later, save a reminder to compare a fresh quote using Esurance quotes once the claim is closed.
3) Meet the adjuster: be available for inspection. Share contractor estimates if you have them; keep all receipts for temporary repairs and lodging if applicable.
4) Review the settlement: compare the adjuster’s scope with your photos and estimates. If something’s missing, request a supplemental review with additional proof. When rates renew post-claim, benchmark with State Farm insurance quotes to ensure pricing remains competitive.
Get Auto Insurance Quotes
Get competitive auto insurance quotes today.
Drive less after the storm? Review State Farm low-mileage discounts when you update your policy.
Explore Home Insurance Options
Find the best home or renters rates now.
Looking to trim total cost? Consider a home + auto bundle when you renew.

Understanding Your Deductible
Before the adjuster visit, review your policy’s wind, hail, or named-storm deductible. These are often set as a percentage of your home’s insured value, not a flat dollar amount. Knowing this helps you plan out-of-pocket expectations before work begins.
Storm Claim Paperwork: What to Double-Check
Use this checklist to confirm your adjuster’s scope matches your contractor estimates and photos. Every detail—materials, dimensions, and repair methods—matters for accurate reimbursement.
| Item | Meaning | What to Verify |
|---|---|---|
| Roof square footage & pitch | Determines material and labor counts | Ensure dimensions match photos and estimates |
| Cosmetic vs. functional damage | Cosmetic dents may be excluded | Confirm whether exclusions apply to your roof or siding |
| Code upgrade / ordinance & law | Pays for code-required improvements | Check endorsement limit; request addition if absent |
| ACV holdback | Remainder paid after work completion | Submit final invoices to release depreciation |
If you spot unclear entries, ask the adjuster for written clarification. For optional upgrades not covered by your policy, request separate contractor line items to see true out-of-pocket costs.
Before your renewal date, revisit potential savings. If you’ve installed a new alarm system or upgraded roofing materials, these safety improvements may qualify for fresh discounts. Check your next billing statement for applied credits or contact your agent to confirm.
Frequently Asked Questions
These answers cover the first 48 hours after damage, timing expectations, and how to escalate if something looks off.
Stay safe, prevent additional damage, photograph everything, and report the claim with dates, times, and a brief summary.
Simple claims can settle within a few weeks; complex structural or widespread events may take longer.
Yes. Request a reinspection or supplemental review and submit additional photos, contractor estimates, or manufacturer specs.
Potentially. Look at multi-policy, alarm/sensor credits, low-mileage, and student or recent-graduate incentives you qualify for—see our overview of new-graduate discounts for timing and documentation tips.
Bottom line: document thoroughly, communicate quickly, and keep good records. That combination speeds approvals and reduces surprises.
